

VIDEO GUIDE
Machine Introduction
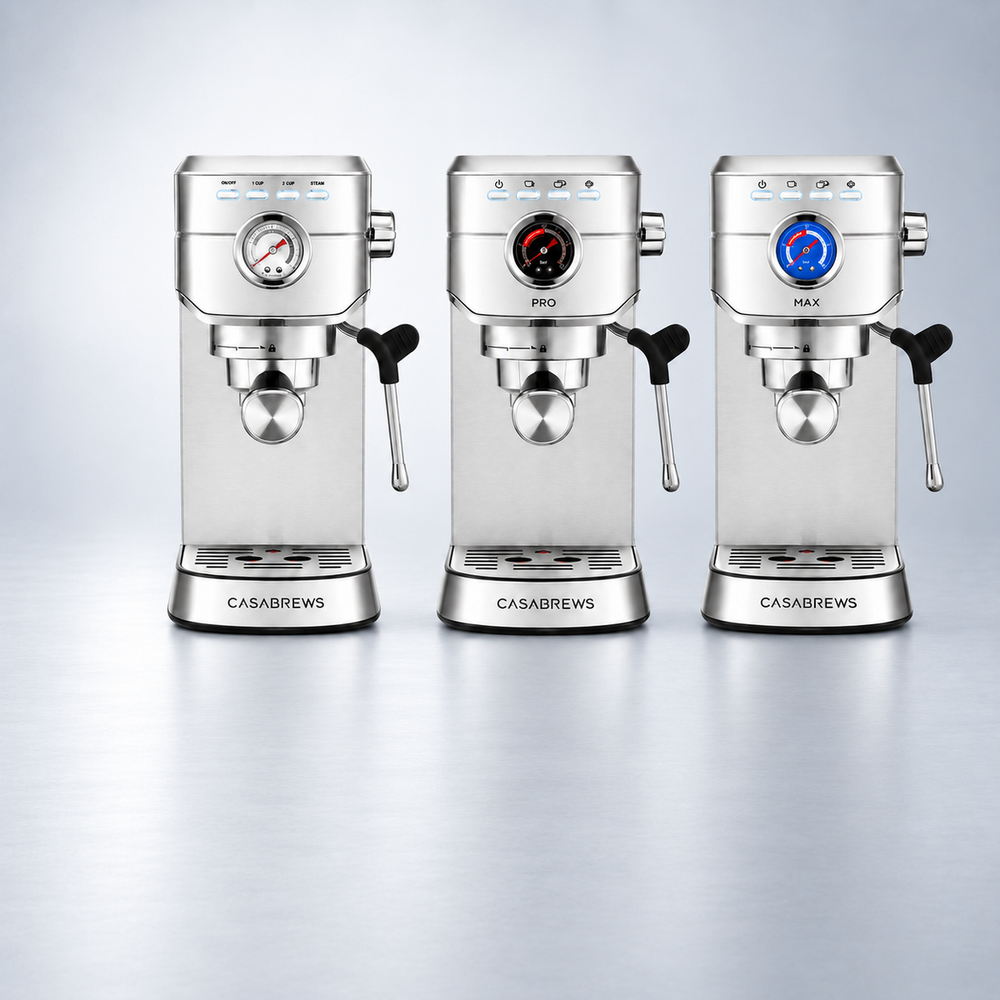
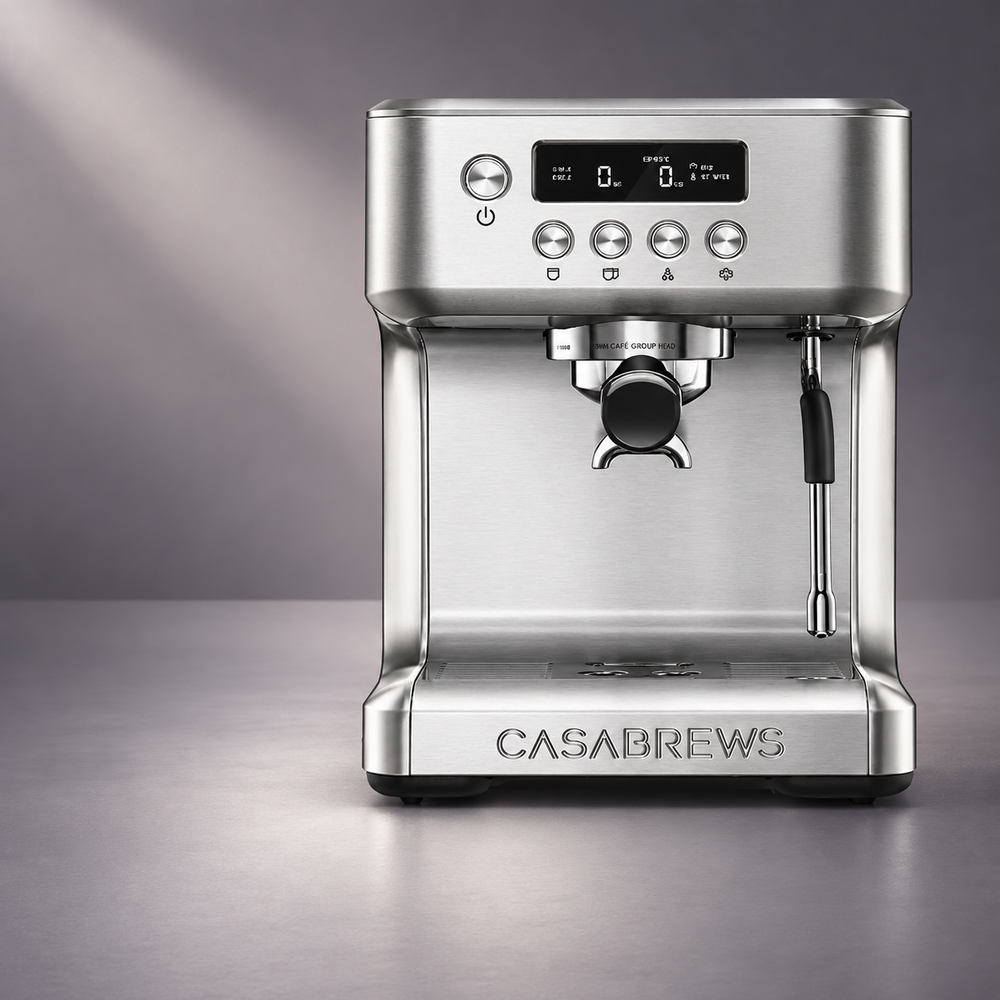
Get to know your 5418 Pro, including its key features, controls, and everyday operation.
WATCH & LEARN
Step-by-step videos to help you get the most out of your machine.
VIDEO GUIDE
Get to know your 5418 Pro, including its key features, controls, and everyday operation.
VIDEO GUIDE
Learn how to prepare your 5418 Pro for its first use.
VIDEO GUIDE
Follow the complete brewing process, from preparation to extraction, with your 5418 Pro.
VIDEO GUIDE
Learn how coffee freshness and grind size affect espresso extraction and flavor.
VIDEO GUIDE
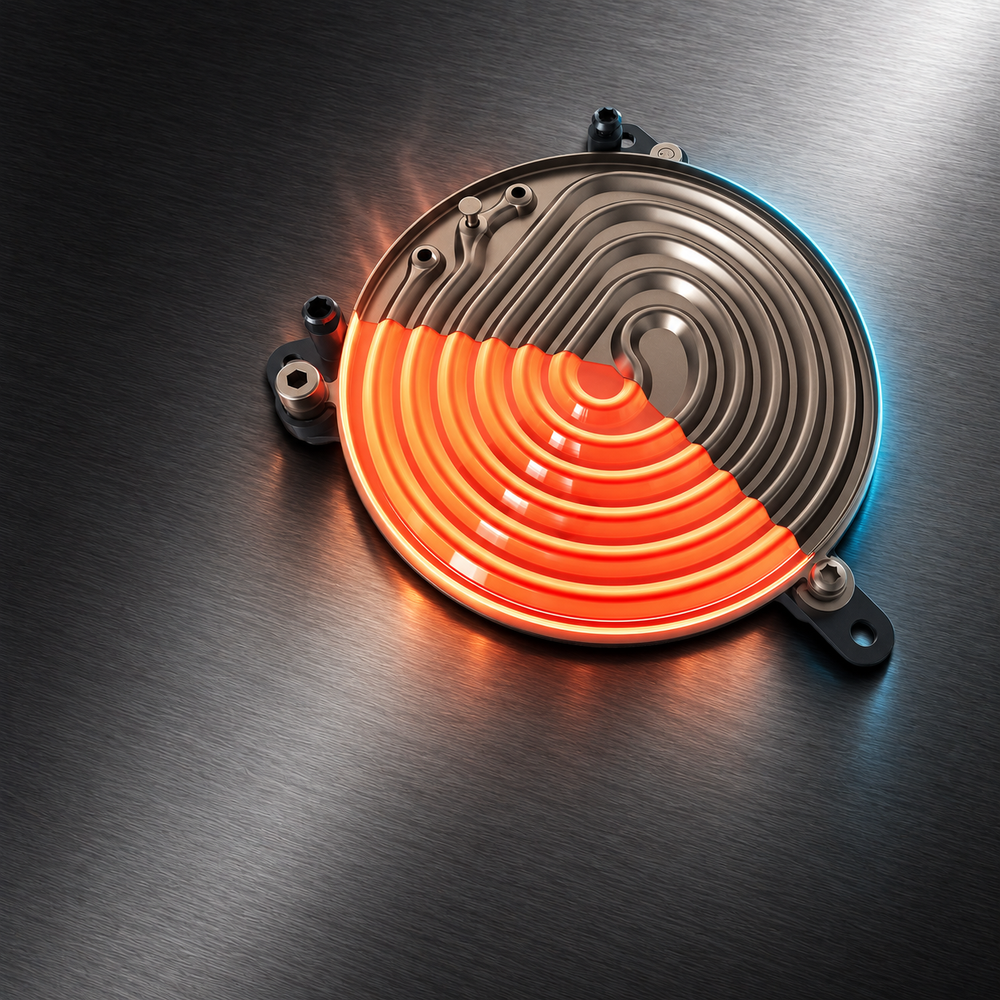
Learn how to use Flashheat technology to quickly prepare steam and create smooth, creamy milk foam.
VIDEO GUIDE
Wrap up your 5418 Pro journey with a few final tips-and enjoy better coffee, one cup at a time.
VIDEO GUIDE
Use simple preparation steps to achieve a hotter cup of coffee.
VIDEO GUIDE
Learn how the 5418 Pro's protection features work and what to do when they activated.
GETTING STARTED
Helpful answers for setup, espresso extraction, and milk frothing.
Before your first brew, fill and install the water tank, turn on the machine, and allow it to finish preheating. Run hot water through the steam wand for about 8–10 seconds to prime the pump.
Then run a flushing cycle without coffee by pressing and holding the 2 CUP + STEAM buttons for 5 seconds. This helps prepare the internal water system for brewing.
The pump may sound louder during first use while air is being cleared from the system. This is normal and should decrease once water begins flowing.
For the best starting point:
1 CUP: 7–9 g of ground coffee
2 CUP: 13–15 g of ground coffee
Distribute the grounds evenly and tamp firmly and evenly. If the espresso flows too quickly, try a finer grind or slightly more coffee. If it flows too slowly or pressure is too high, use a coarser grind, slightly less coffee, or reduce tamping pressure.
The pressure gauge helps you understand how your espresso is extracting. During brewing, aim for the Espresso Range shown on the gauge.
If the pressure is too low, try a finer grind, slightly more coffee, or a firmer tamp. If the pressure is too high, try a coarser grind, slightly less coffee, or a lighter tamp.
The gauge responds to resistance created by the coffee bed, so the reading can vary depending on grind size, dose, tamping, and the filter basket being used.
Make sure the machine has fully preheated before brewing. For a hotter espresso, preheat the brewing system by running a water-only cycle through the installed portafilter before extraction. Preheating your cup with hot water can also help maintain temperature.
The brew head, portafilter, filter, and cup can all absorb heat if they are cold.
Start with cold whole milk and a cold pitcher. Before frothing, briefly purge the steam wand to release residual water.
Keep the steam wand tip just below the surface of the milk at first to introduce air, then position it slightly deeper to create a smooth vortex. Stop when the milk reaches approximately 140–149°F (60–65°C).
After frothing, purge and wipe the steam wand immediately.
Yes. Press and hold the 1 CUP or 2 CUP button for 5 seconds to enter programming mode. Press the same button again to begin dispensing, then press it once more when your desired volume is reached.
The machine will save the new setting for future use.
To restore the default volumes, press and hold 1 CUP + 2 CUP together for 5 seconds.
SOLVE A PROBLEM
Quick solutions for the most common product issues.
First, make sure the water tank is filled and seated correctly.
If the machine has been used for the first time or after a long period of inactivity, air may be trapped in the water system. Use the hot water function to help prime the pump, then run a flushing cycle by holding 2 CUP + STEAM for 5 seconds.
If water still does not flow, check that the filter basket is not clogged and that the coffee is not ground too finely or tamped too firmly.
High pressure or very slow flow usually means there is too much resistance in the coffee bed.
Try:
For a starting point, use approximately 7–9 g for 1 CUP or 13–15 g for 2 CUP.
Low pressure and fast extraction usually mean there is not enough resistance.
Try:
If you are using a non-pressurized or bottomless portafilter, grind size and puck preparation become especially important and may produce a different gauge reading than the supplied dual-wall baskets.
Some water may come from the steam wand while the steam system is heating. Before frothing, press the STEAM button and wait until preheating is complete, then briefly open the steam knob to purge residual water.
Once a steady stream of steam appears, return the knob to OFF, place the wand in the milk, and begin frothing.
If steam remains weak or does not appear, make sure the water tank is filled and check the steam nozzle for blockage.
First check that the water tank is fully seated and that the drip tray is not full.
If water is leaking around the portafilter during brewing, make sure the portafilter is fully locked, the correct amount of coffee is being used, and there are no coffee grounds on the brew-head sealing ring.
If water continues to leak from underneath the machine or from areas other than the normal outlets, stop using the machine and contact CASABREWS Support.
Some flashing lights are normal during preheating or when the machine is running a maintenance cycle.
If the machine does not operate normally, first make sure:
If the 1 CUP and 2 CUP buttons flash alternately, or multiple buttons continue flashing and the machine remains unresponsive, contact CASABREWS Support.
CARE & SERVICE
Cleaning, maintenance, parts, warranty, and service information.
Immediately after frothing, briefly run steam to purge any milk remaining inside the wand, then wipe the wand with a damp cloth.
If the steam hole becomes blocked, use the supplied cleaning needle to clear it, then run hot water through the wand for 4–6 seconds.
For a deeper clean, remove the steam nozzle, soak it in warm water with an espresso-machine cleaning tablet, rinse thoroughly, clear the opening with the cleaning needle, and flush again.
After brewing, allow the portafilter to cool, remove the filter basket, and rinse both with warm water.
Keep the filter holes clear of coffee residue. If brewing becomes restricted, soak the filter basket in boiling water for about 10 minutes, then rinse thoroughly under running water.
Do not place the parts in a dishwasher.
Regularly remove coffee grounds from the brew head with a soft brush.
For a water rinse, remove the portafilter, place an empty cup under the brew head, and press either the 1 CUP or 2 CUP button. Allow the cycle to finish automatically.
Do not disassemble the brew head, as this may damage the machine and cause leakage.
The 5418 Pro will display a descaling reminder after approximately 500 brew cycles. All indicator lights will flash 5 times at startup.
To descale:
A wet puck or a small amount of water remaining above the coffee grounds can occur after extraction and does not necessarily indicate a problem with the machine.
For more consistent results, use the recommended coffee dose, distribute and tamp evenly, and adjust your grind based on extraction time and pressure rather than judging the shot by puck dryness alone.
If the espresso itself extracts normally and tastes good, a wet puck is generally not a reason for concern.
Regular cleaning helps maintain consistent espresso quality and reliable machine performance.
For detailed cleaning and descaling instructions, refer to the User Manual or the Video Guides above.
HELPFUL RESOURCES
Download guides and resources for your machine.
WE'RE HERE TO HELP
Tell us about your machine and the issue you're experiencing. We'll help you find a solution.
Product support & warranty assistance
Contact Support