

--
VIDEO GUIDE
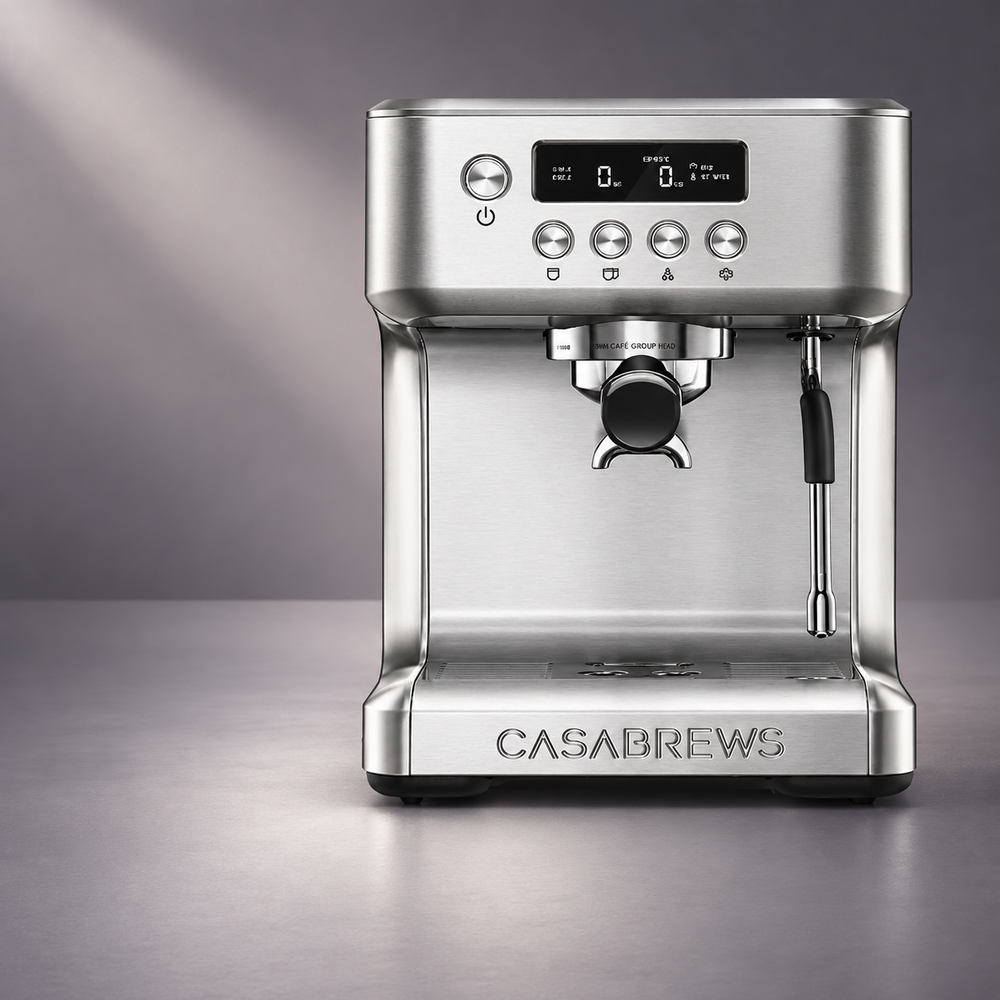
Machine Introduction
Set up your CM5418 and prepare it for the first brew.

CUSTOMER SUPPORT
Your videos, guides, FAQs, and support—all in one place.
WATCH & LEARN
Step-by-step videos to help you get the most out of your machine.
VIDEO GUIDE
Set up your CM5418 and prepare it for the first brew.
VIDEO GUIDE
Customize the single and double shot volume to your preference.
Frothing Expertise
Create smooth, creamy microfoam for your favourite drinks.
VIDEO GUIDE
Insert and secure the portafilter correctly before brewing.
VIDEO GUIDE
Follow the essential steps for a balanced espresso shot.
VIDEO GUIDE
Use simple preparation steps to achieve a hotter cup of coffee.
VIDEO GUIDE
Preheat the machine and cup for more consistent espresso.
VIDEO GUIDE
Descale your CM5418 and clear the maintenance reminder.
TROUBLESHOOTING
Restore water flow when the machine is not dispensing or extracting coffee.
TROUBLESHOOTING
Restore the steam wand or hot-water function when there is no output.
TROUBLESHOOTING
Reset the machine when it beeps and every indicator, including Power, flashed.
TROUBLESHOOTING
Reduce excessive water discharge and restore normal steam performance.
TROUBLESHOOTING
Resolve the high-temperature and pressure warning on the brew buttons.
TRUOBLESHOOTING
Stop water leaking around the portafilter during extraction.
TROUBLESHOOTING
Fix flashing function buttons when the Power button is not flashing.
TROUBLESHOOTING
Improve an espresso shot that pours too slowly or barely flows.
TROUBLESHOOTING
Identify and stop water leaking from the bottom or drip-tray area.
TROUBLESHOOTING
Correct pressure problems for a more balanced and consistent extraction.
TROUBLESHOOTING
Clear a blocked filter basket and restore normal coffee flow.
TROUBLESHOOTING
Reduce excess water left on the coffee grounds after brewing.
TROUBLESHOOTING
Clear the warning when the Steam indicator flashes quickly.
GETTING STARTED
Essential setup and preparation for your first brew.
Remove all packaging and the red protective plug from the bottom of the water tank. Wash the water tank, portafilter, filter baskets, and measuring spoon with warm water and mild dish soap, then rinse and dry thoroughly. Do not use a dishwasher.
Fill the water tank with fresh water and make sure it is properly installed. Turn on the machine and allow it to heat up. Run water through the brewing system without coffee, then briefly operate the steam wand to help fill the internal water circuit. Follow the first-use procedure in your user manual.
During initial setup, the pump may sound louder as air is pushed out of the water system. Some vibration is normal. Make sure the water tank is properly seated and the machine is on a stable, level surface. The sound should become more consistent once the water system is primed.
After turning on the machine, allow it to complete its heating cycle. When the brewing indicator shows that the machine is ready, you can begin preparing espresso. For a hotter first cup, run a short blank shot through the portafilter before brewing.
Not necessarily. Once the machine indicates that it is ready, you can start brewing. However, running a short blank shot can help warm the portafilter, brew head, and cup, especially when preparing your first espresso of the day.
Wait until the machine completes its initial heating cycle and indicates that it is ready. For more consistent results, especially with the first shot, preheat the portafilter and cup using a short water-only cycle.
Simple techniques for better espresso extraction and consistent results.
Use a fine espresso grind, similar in texture to fine table salt. The ideal setting depends on your coffee beans and grinder. If espresso flows too quickly, try grinding finer. If it flows too slowly, adjust slightly coarser.
Use the appropriate single- or double-shot filter basket and follow the recommended coffee dose in your CM5418 user manual. Distribute the grounds evenly and tamp consistently for balanced extraction.
Apply firm, even pressure to create a level coffee bed. Consistency matters more than excessive force. An uneven tamp can cause water to flow through the grounds unevenly and affect espresso flavor.
Choose the appropriate filter basket, add freshly ground coffee, and tamp evenly. Lock the portafilter securely into the brew head, place your cup underneath, and press the single- or double-shot button. The machine will dispense the selected amount of espresso.
Yes. The CM5418 supports adjustable espresso volume for single and double shots. Use the programming procedure described in your user manual to set your preferred amount. Once saved, the machine can use that setting for future brews.
The grind may be too coarse, the coffee dose may be too low, or the grounds may not be evenly tamped. Try a slightly finer grind, check your dose, and distribute the grounds evenly before tamping.
The coffee may be ground too finely, the basket may be overfilled, or the filter holes may be partially blocked. Try a slightly coarser grind and check that the filter basket is clean.
Start with fresh coffee beans, an appropriate espresso grind, a consistent dose, and even tamping. Adjust the grind gradually based on extraction speed and taste. Preheating your cup and portafilter can also help maintain serving temperature.
Learn how to steam milk and create smooth, creamy microfoam.
Switch the machine to steam mode and allow it to reach the appropriate temperature. Briefly release steam into an empty container to clear any condensed water before placing the wand into the milk.
Cold whole milk is a good starting point for creating smooth, creamy foam. Barista-style alternative milks can also work well, although the texture and foam stability may vary.
Fill a milk pitcher with cold milk, keeping enough room for expansion. Position the steam wand tip just below the surface to introduce air, then lower it slightly to create a gentle swirling motion. Stop steaming when the milk reaches your preferred temperature.
Too much air may have been introduced during steaming. Keep the wand tip close to the surface only during the initial aeration stage, then position it slightly deeper to create a smooth swirling motion and refine the texture.
Wipe the steam wand immediately with a clean, damp cloth, then briefly release steam to clear any remaining milk from the nozzle. Never allow milk residue to dry inside the steam wand.
SOLVE A PROBLEM
Quick solutions for common CM5418 issues. For step-by-step help, see the Troubleshooting Video Guides above.
Make sure the water tank is filled, properly installed, and the red protective plug has been removed. Wait until all buttons are fully illuminated, set the steam knob to OFF, and prime the water system if needed.
Press the STEAM button and wait until it remains fully illuminated. Make sure the water tank is filled, then purge the wand until only steam comes out. If steam is still weak, clean the steam wand opening after it has cooled.
The boiler is too hot to brew immediately after steaming. Turn the steam knob to the hot-water position and let water flow from the steam wand until the pump stops and all buttons are fully illuminated. Return the knob to OFF before brewing.
Remove any coffee grounds from the rim of the filter basket and avoid overfilling it. Make sure the basket is installed correctly and the portafilter is securely locked in the center position.
Make sure the power cord is securely connected and test the electrical outlet with another appliance. If the machine still does not turn on, unplug it and contact CASABREWS Support.
Check that the water tank is properly installed and that the drip tray is not full. If water continues to leak from inside the machine, unplug it immediately and contact CASABREWS Support.
The water tank may be empty, incorrectly installed, or the pump may contain air. Refill and reinstall the tank, then prime the water system. Stop using the machine and contact support if the unusual noise continues.
Flashing buttons normally indicate that the machine is heating. Wait until all buttons are fully illuminated. If the flashing continues or follows an unusual pattern, refer to the corresponding Troubleshooting Video Guide or contact support.
Do not overfill the filter basket, and remove any grounds from its rim. Wait a few seconds after brewing before removing the portafilter, as heat and residual pressure may make it feel tighter.
A small amount of water remaining above the coffee puck can be normal. It may vary with the grind size, coffee amount, and tamping pressure and does not necessarily indicate a machine problem.
CARE & SERVICE
Cleaning, maintenance, parts, warranty, and service information.
Remove and rinse the portafilter and filter basket with warm water. Run a short water cycle through the brew head, wipe away any coffee residue, and empty the drip tray as needed.
Remove and wash both parts with warm water and mild dish soap, then rinse and dry thoroughly. Do not place them in a dishwasher.
Allow the machine to cool, then wipe the brew head and sealing area with a clean, damp cloth. Run a short brewing cycle without coffee to flush away any remaining residue.
Descale the CM5418 when the machine displays a descaling reminder, or sooner if hard water, reduced flow, or slower heating is noticed. You may use a suitable liquid descaler or dissolve one CASABREWS Cleaning & Descaling Tablet in 500–800ml of water before adding it to the water tank. Follow the CM5418 descaling procedure, then run a full cycle with fresh water to rinse the system. Regular descaling helps remove limescale and coffee residue, maintain stable flow and temperature, and preserve the taste of your espresso.
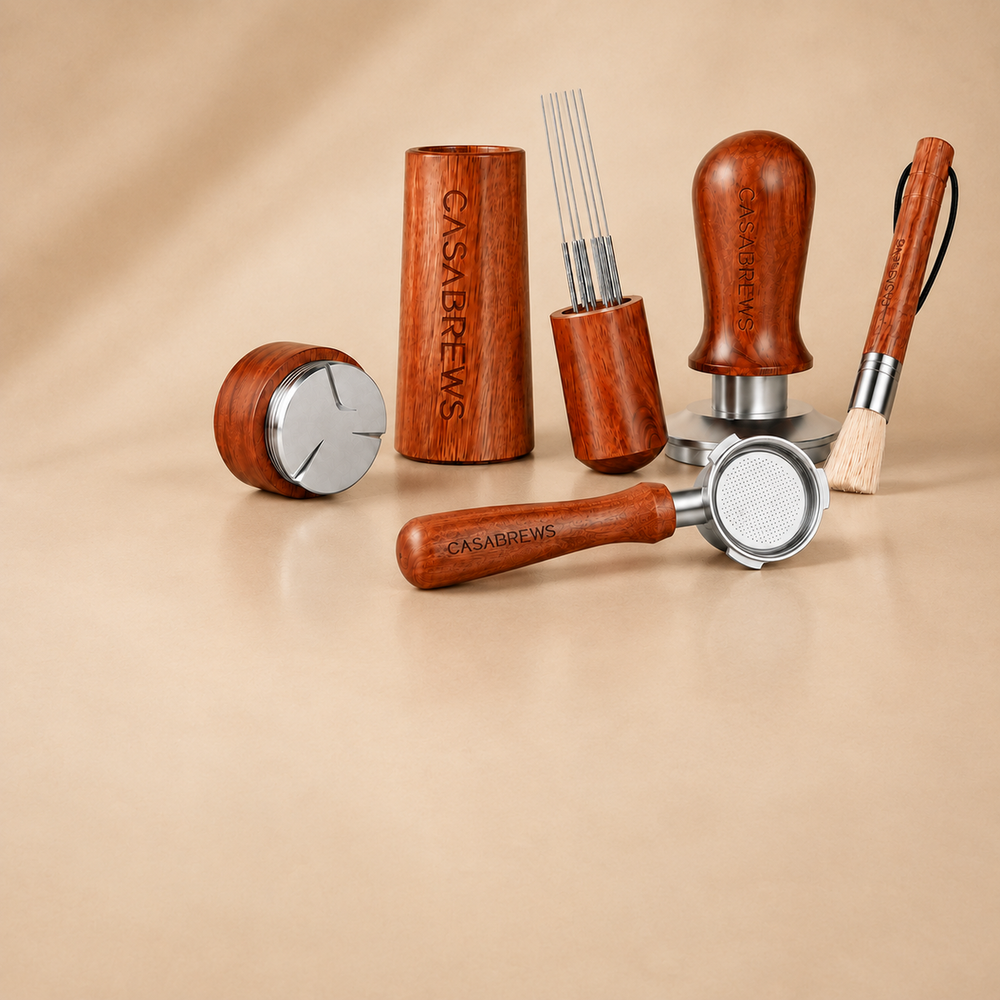
The CM5418 uses 51mm accessories, including portafilters, filter baskets, tampers, and puck screens. Fit may vary with third-party accessories, so check compatibility before purchasing.
Compatible accessories and available replacement parts can be purchased through the CASABREWS website. If the part you need is not listed, contact Customer Support for assistance.
The CM5418 includes a 12-month limited warranty covering eligible product defects under normal household use. Proof of purchase may be required, and damage caused by misuse, improper cleaning, or unauthorized repair may not be covered.
Please provide your order number, product model, a description of the issue, and photos or a short video when possible. This helps our support team identify the problem and assist you more quickly.
WE'RE HERE TO HELP
Tell us about your machine and the issue you're experiencing. We'll help you find a solution.
Product support & warranty assistance
Contact Support

