CASABREWS / COFFEE & CRAFT / ACCESSORY GUIDES

How to Use Your Espresso Tools

A Practical Guide to Better Espresso Preparation

Great espresso starts before you press the brew button. From grinding and distributing coffee to tamping and extracting, every step helps shape the flavor and consistency of your espresso.

The right tools can make these steps easier, cleaner, and more repeatable. Whether you're preparing your first espresso or refining your daily routine, learning how to use each tool properly can help you get more from your machine.

This guide walks you through the essential espresso tools, how to use them, and the small techniques that can make a meaningful difference in every cup.

01 / THE BASICS

Understanding Your Espresso Preparation Tools

Before making espresso, it helps to understand what each tool does and where it fits into the brewing process.

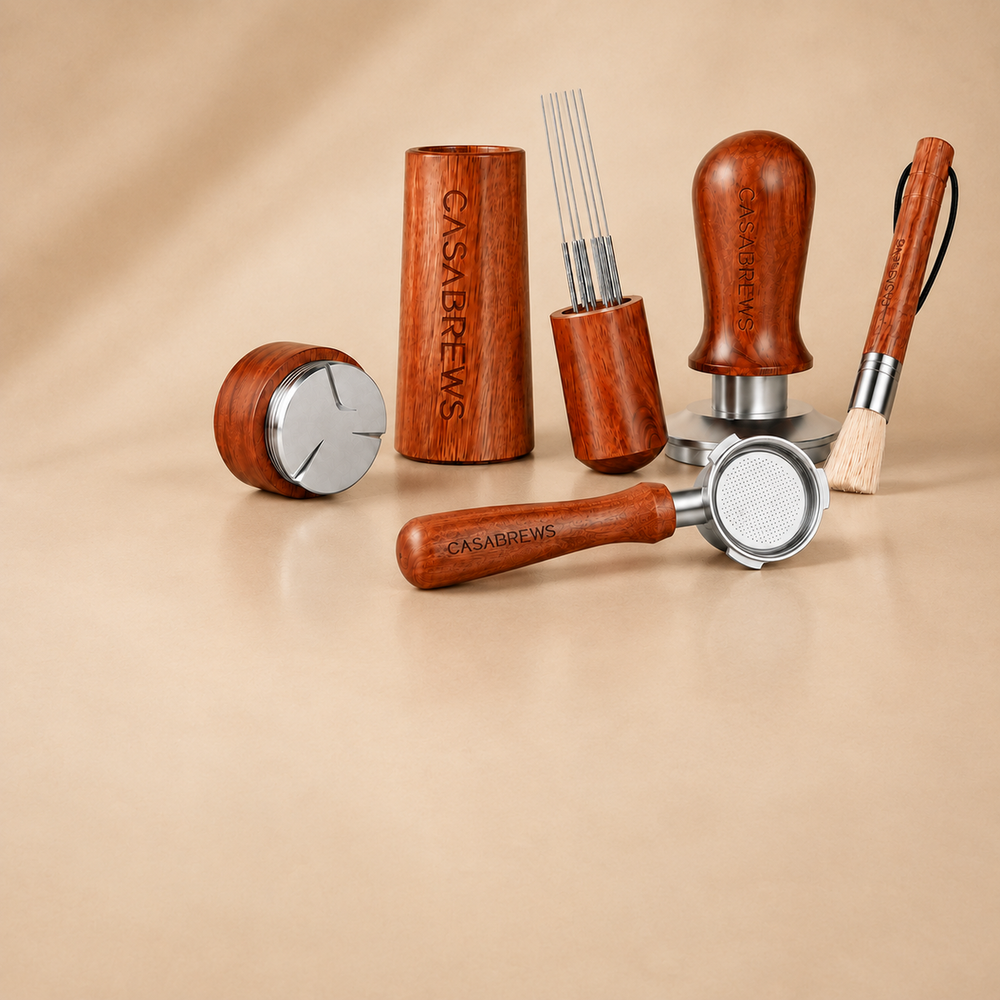
Portafilter

Holds the filter basket and ground coffee during extraction. It locks into the espresso machine's group head, allowing pressurized water to pass through the coffee.

WDT Tool

Uses thin needles to break up clumps and distribute ground coffee more evenly throughout the basket.

Coffee Distributor

Helps level the surface of the coffee grounds before tamping. It is optional and does not replace thorough distribution.

Tamper

Compresses ground coffee into a level, compact puck, creating more consistent resistance during extraction.

Bottomless Portafilter

Exposes the underside of the filter basket, making it easier to observe espresso flow and identify possible extraction issues.

Not every espresso setup requires every accessory. Start with the tools that fit your machine and brewing routine, then add others as your skills and preferences develop.

02 / PREPARE YOUR COFFEE

Start with the Right Grind and Dose

Before using distribution or tamping tools, begin with properly ground coffee and a suitable dose.

The grind size and amount of coffee influence how water moves through the coffee puck, affecting extraction time, strength, and flavor.

How to prepare:

  1. Choose fresh coffee beans suitable for espresso.
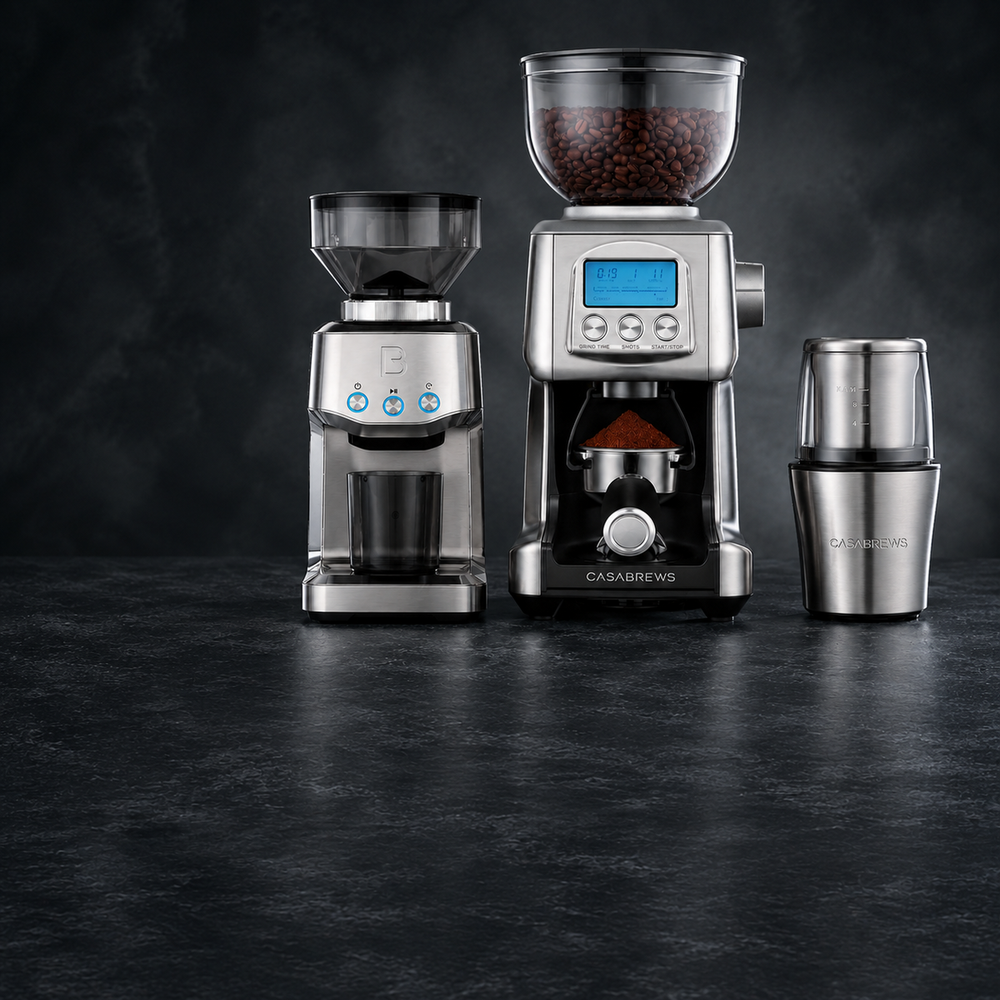
  2. Grind the beans using an espresso-capable grinder.
  3. Measure your coffee dose according to your filter basket and machine's recommended capacity.
  4. Transfer the grounds into the portafilter basket, using a dosing funnel if needed.
  5. Check that the grounds are not overflowing or excessively compressed before tamping.

What to look for

Coffee grounds should be distributed within the basket without excessive spilling. The dose should leave enough room for proper tamping and clearance beneath the machine's shower screen.

Common mistakes to avoid

  • Using a grind that is too coarse, causing espresso to flow too quickly.
  • Grinding too finely, which can restrict flow or stall extraction.
  • Overfilling the basket and leaving insufficient headspace.
  • Changing grind size and coffee dose at the same time, making it harder to identify what improved the result.

CASABREWS TIP — Start with the dose recommended for your machine and basket. Adjust grind size gradually based on extraction and taste.

03 / DISTRIBUTE EVENLY

How to Use a WDT Tool

Freshly ground coffee can form small clumps or settle unevenly inside the portafilter basket.

A WDT (Weiss Distribution Technique) tool uses thin needles to break up these clumps and distribute the grounds more evenly. This can help reduce uneven resistance within the coffee puck and improve extraction consistency.

Step-by-step instructions

  1. Place the portafilter on a stable surface or portafilter holder.
  2. Attach a dosing funnel to prevent coffee grounds from spilling.
  3. Insert the WDT needles gently into the coffee grounds, reaching near the bottom of the basket without scraping it.
  4. Move the needles slowly through the coffee using small circular or overlapping motions.
  5. Work across the entire basket, including the edges, to break up visible clumps.
  6. Gradually bring the needles toward the surface, leaving the grounds evenly distributed.
  7. Remove the tool carefully and check that the coffee bed is reasonably level before tamping.

What to avoid

Avoid stirring too aggressively, as this may scatter grounds outside the basket. Do not force the needles against the basket or use bent or damaged needles.

Why it matters

More even distribution can help water pass through the coffee puck more consistently, reducing the risk of channeling—when water finds an easier path through part of the coffee rather than flowing evenly through the entire puck.

04 / LEVEL AND TAMP

How to Tamp Your Espresso Correctly

Tamping compresses loose coffee grounds into a compact puck. A level, consistent tamp helps create uniform resistance as water flows through the coffee.

You do not need excessive force. The goal is a firm, even tamp that you can repeat consistently.

Step-by-step instructions

  1. Place the portafilter on a stable, level surface or tamping mat.
  2. Make sure the grounds are evenly distributed before tamping.
  3. Hold the tamper with your wrist straight and position its base flat against the coffee.
  4. Press down firmly and evenly until the coffee bed is compressed.
  5. Release the pressure and lift the tamper straight up.
  6. Check that the puck surface is level and free from obvious cracks or uneven areas.
  7. Remove any loose coffee grounds from the portafilter rim before locking it into the machine.

Should you use a coffee distributor first?

A coffee distributor can help level the surface of the grounds before tamping. If using one, set it to a suitable depth and rotate gently without excessively compressing the coffee.

However, a distributor is optional. Proper WDT distribution followed by a level tamp is often sufficient.

Common tamping mistakes

  • Tamping at an angle, creating uneven puck thickness.
  • Applying repeated heavy pressure after the coffee is already compressed.
  • Using a tamper that does not fit the basket properly.
  • Leaving coffee grounds on the portafilter rim.

CASABREWS TIP — Consistency matters more than maximum tamping force. A level, repeatable tamp is the goal.

05 / WATCH YOUR EXTRACTION

How to Use a Bottomless Portafilter

A bottomless portafilter removes the traditional spouted base, exposing the underside of the filter basket during extraction.

This gives you a clearer view of how espresso flows through the coffee puck, making it a useful learning tool for improving preparation techniques.

Step-by-step instructions

  1. Confirm that the bottomless portafilter is compatible with your espresso machine.
  2. Insert a suitable filter basket and prepare the coffee using the correct dose, distribution, and tamping technique.
  3. Lock the portafilter securely into the machine's group head.
  4. Position your espresso cup beneath the basket.
  5. Start extraction and observe the flow from the underside of the basket.
  6. Note whether the espresso forms a relatively even stream or sprays unevenly.
  7. Use the results, together with taste and extraction time, to guide your next adjustment.

What does the extraction tell you?

A Relatively Even, Centered Flow

Usually indicates a more consistent extraction, with water flowing relatively evenly through the coffee puck.

Thin Streams or Spraying

May indicate channeling or uneven puck preparation. Try improving coffee distribution and tamping consistency.

Very Fast, Pale Flow

May indicate that the grind is too coarse or the coffee puck offers too little resistance. Try adjusting to a finer grind.

Very Slow Flow or Little Espresso

May indicate that the grind is too fine, the dose is too high, or the puck offers too much resistance. Try a slightly coarser grind or review your coffee dose.

These are general indicators rather than definitive diagnoses. Coffee freshness, roast level, basket design, and machine settings can also affect extraction.

Use what you see as a guide, but let taste help determine your final adjustments.

Is a bottomless portafilter necessary?

No. A standard spouted portafilter can produce excellent espresso.

A bottomless portafilter is particularly useful for users who want to observe extraction and refine their puck preparation skills.

06 / PUT IT ALL TOGETHER

Your Everyday Espresso Preparation Routine

Once you understand the individual tools, combining them into a simple, repeatable workflow makes espresso preparation easier.

1. Grind and dose

Grind fresh coffee and measure the amount appropriate for your filter basket.

2. Use a dosing funnel

Keep the coffee grounds inside the basket while preparing and distributing them.

3. Distribute with a WDT tool

Break up clumps and spread the grounds evenly throughout the basket.

4. Level and tamp

Remove the funnel, level the coffee bed, and apply a firm, even tamp.

5. Prepare the machine

Follow your machine's preheating and brewing instructions. Ensure the portafilter rim is clean before locking it into place.

6. Extract and observe

Brew your espresso, paying attention to flow, extraction time, and the flavor in the cup.

7. Clean and reset

Remove the used coffee puck, rinse the basket and portafilter as appropriate, and prepare your tools for the next use.

You do not need to perform every optional step each time you brew. The best routine is one that helps you achieve consistent results without making your coffee preparation unnecessarily complicated.

07 / COMMON MISTAKES

Small Adjustments That Make a Difference

Even with the right tools, small preparation mistakes can affect the quality of your espresso.

Uneven coffee distribution

Coffee clumps and unevenly filled baskets can create areas of different resistance, increasing the risk of channeling.

Try this: Use gentle WDT movements to distribute the coffee evenly before tamping.

Inconsistent tamping

An angled or uneven tamp can create differences in puck thickness and affect water flow.

Try this: Keep the tamper level and apply consistent pressure on a stable surface.

Incorrect accessory size

A tamper or portafilter that does not properly fit your machine or basket may lead to poor preparation or compatibility issues.

Try this: Verify your machine model, basket diameter, and accessory compatibility before use.

Changing too many variables

Adjusting grind size, coffee dose, and extraction settings simultaneously makes it difficult to understand what caused a change in flavor.

Try this: Change one variable at a time and compare the results.

Focusing only on extraction appearance

A visually attractive espresso extraction does not always mean the coffee tastes balanced.

Try this: Use extraction appearance as a diagnostic tool, but let taste guide your final adjustments.

08 / COMMON QUESTIONS

Frequently Asked Questions

09 / EXPLORE MORE

Build Better Habits, One Cup at a Time

Making better espresso is not about owning the most tools. It is about understanding how each step contributes to the final result.

Start with a reliable grinder, a compatible portafilter, and a well-fitting tamper. Add distribution tools or a bottomless portafilter when they serve a clear purpose in your routine.

With a little practice and attention to detail, small improvements in preparation can lead to more consistent and enjoyable espresso at home.